 Docs
DocsWooCommerce
Integrate Cost+ with your WooCommerce store using the official WordPress plugin

Integrate Cost+ as a payment method in your WooCommerce store. The official Cost+ Payments WordPress plugin provides seamless integration with your existing WooCommerce checkout.
Prerequisites
- Active Cost+ merchant account
- WordPress site with WooCommerce installed
- Admin access to your WordPress dashboard
1. Install the Cost+ Plugin
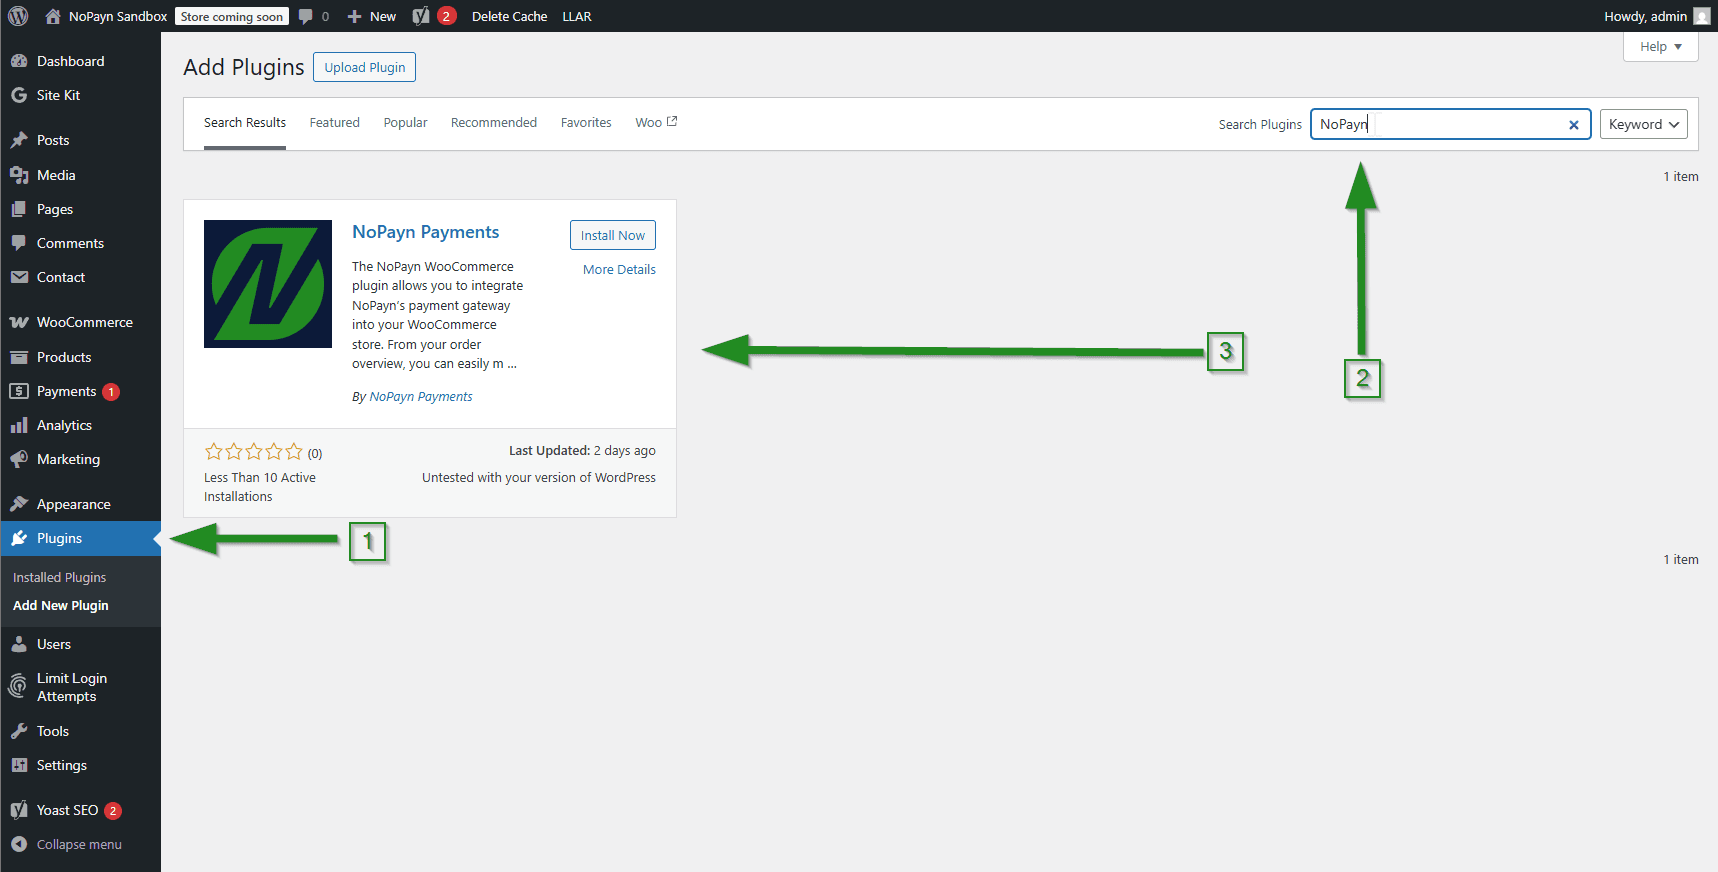
Log in to your WordPress admin panel, then navigate to Plugins > Add New.
In the search bar, type "Cost+ Payments" (or "NoPayn Payments"). Find the plugin in the search results, click Install Now, then click Activate.
Alternatively, you can download the plugin directly from the WordPress Plugin Repository and upload it manually.
2. Configure Cost+ Settings
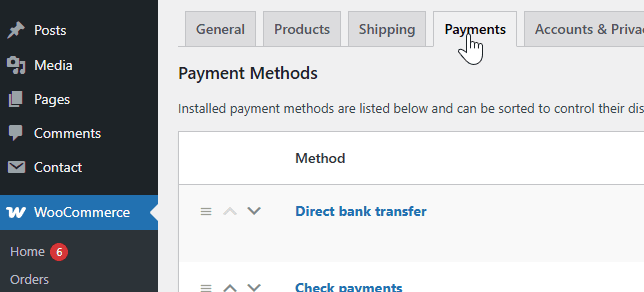
In your WordPress dashboard, go to WooCommerce > Settings.

Click on the Payments tab to view available payment methods.
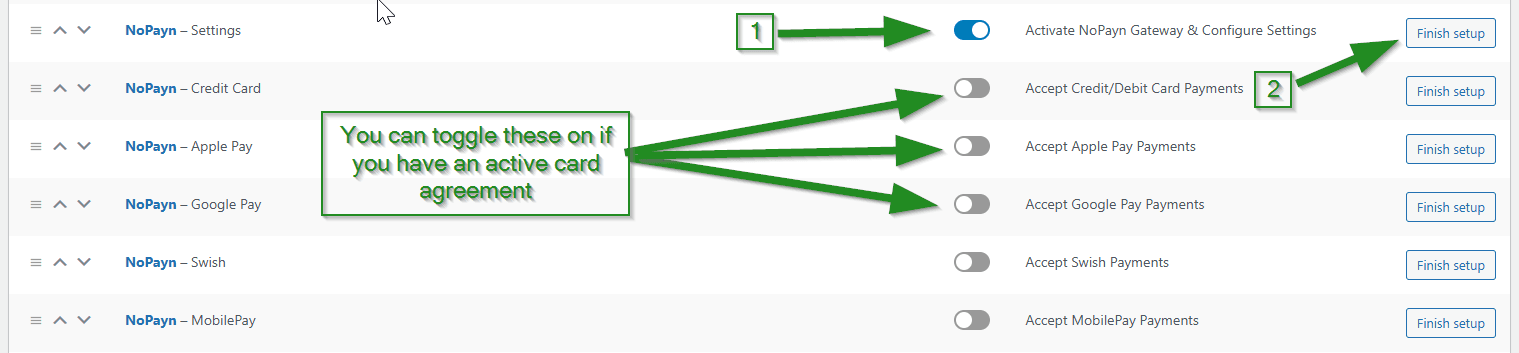
Locate Cost+ - Settings in the list, toggle the switch to enable it, and click the Manage/Finish setup button.
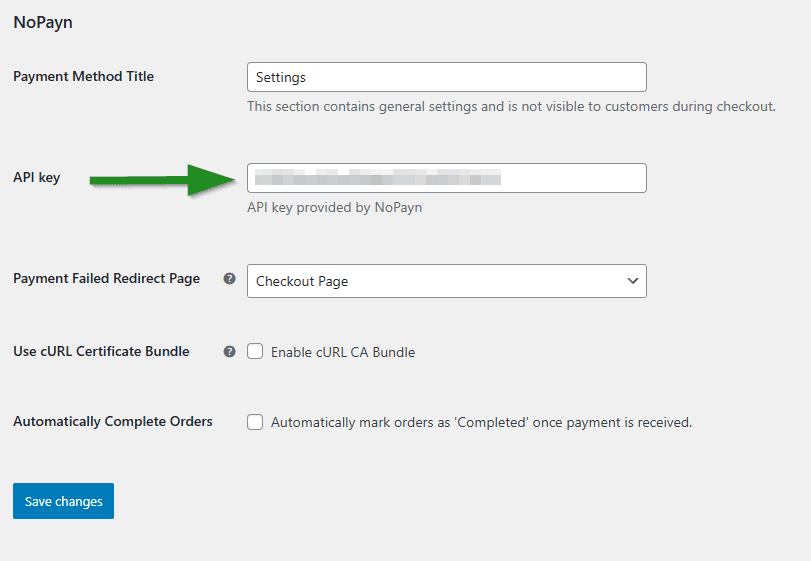
3. Enter API Credentials
Log into the Merchant Portal and navigate to Websites, then click on the website you want to connect. Click on Integration where you will find your API key.
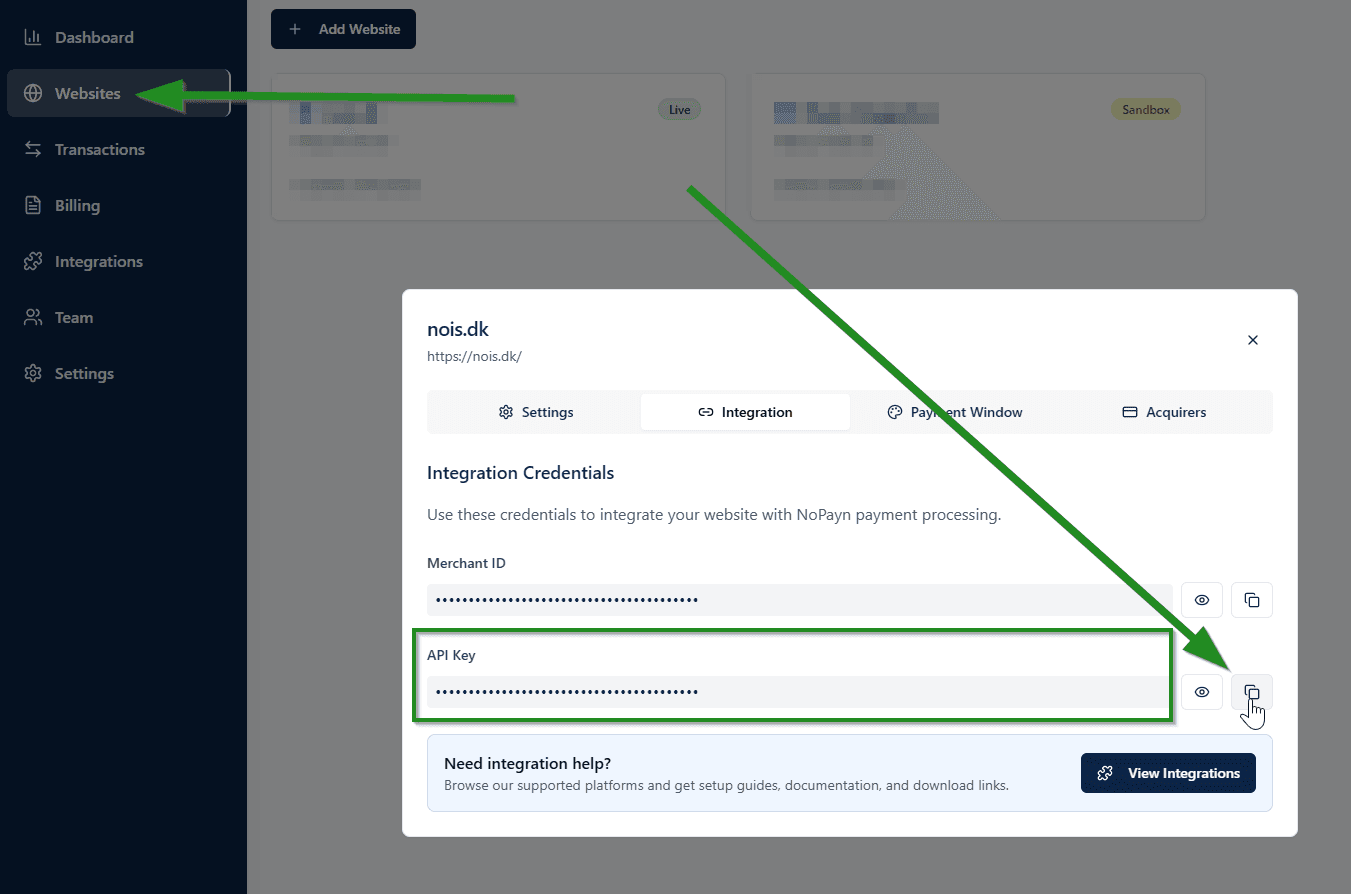
In the Cost+ plugin settings, enter the API key in the API key field.
4. Customize Payment Settings
By default, all payment methods operate in Autocapture mode, meaning payments are captured immediately after authorization.
For Cost+ Credit/Debit Cards, an additional setting -- Capture on Complete -- is available directly in its settings panel. Checking this box will delay capture until an order is marked as complete in WooCommerce.
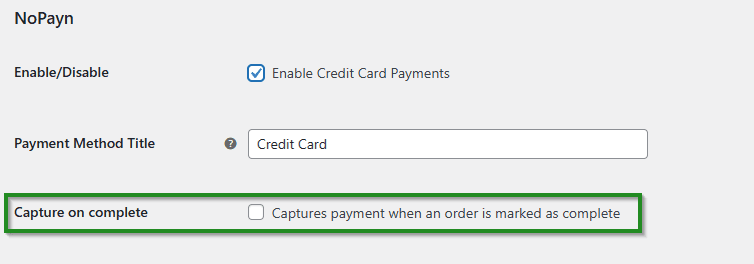
This flexible option allows you to align payment flows with your fulfillment process. Use "Capture on Complete" if you want to only charge customers when their order ships.
5. Save Changes and Test
After configuring your preferences, click Save changes.
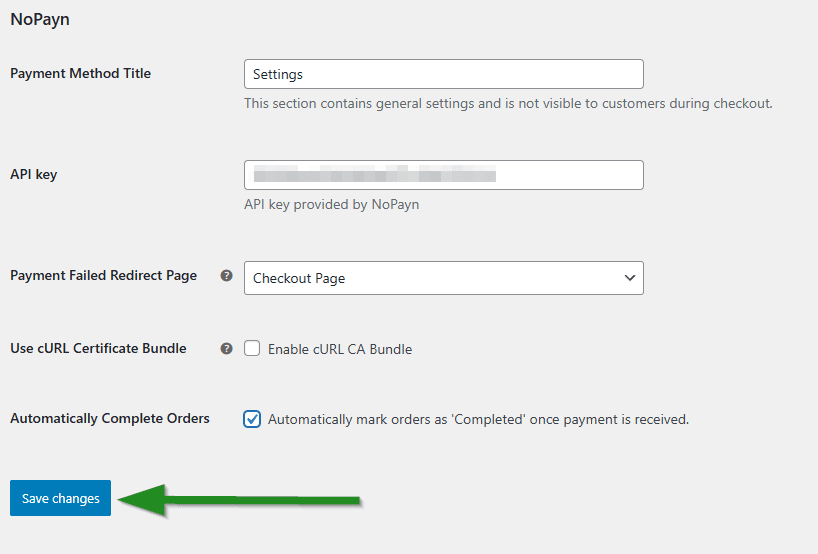
Run a few test payments to ensure everything works smoothly. We recommend testing both successful and failed transactions to confirm behavior across scenarios.
Support
Need help? Reach out to our support team at support@costplus.io.