 Docs
DocsMagento
Integrate Cost+ with your Magento store (2.x and 1.9 / OpenMage LTS)

Integrate Cost+ as a payment method in your Magento store. The Cost+ extension is available for Magento 2 (2.4.6 – 2.4.8) and Magento 1.9 (including OpenMage LTS 20+).
Prerequisites
- Active Cost+ merchant account
- Magento 2.4.6 – 2.4.8 installation
- PHP 8.2 – 8.4
- Admin access to your Magento admin panel
- SSH access to your server (for Composer installation)
- Active Cost+ merchant account
- Magento 1.9.x or OpenMage LTS 20+
- PHP 7.4 or later
- Admin access to your Magento admin panel
- SSH or FTP access to your server
1. Install the Extension
Method A: Installation via Composer (Recommended)
Connect to your Magento server via SSH and navigate to your Magento root directory.
Install the plugin:
composer require nopayn/nopayn-magento-2Run Magento setup commands:
php bin/magento setup:upgrade
php bin/magento module:enable GingerPay_Payment
php bin/magento cache:clean
If you are in production mode, also run:
php bin/magento setup:static-content:deployMethod B: Manual Installation
- Navigate to your
app/codedirectory - Download and unzip the Cost+ release from GitHub
- Run the setup commands:
php bin/magento setup:upgrade
php bin/magento cache:clean
If in production mode:
php bin/magento setup:static-content:deployDownload or clone the module from GitHub.
Copy the contents of app/ into your Magento root app/ directory:
cp -r app/* /path/to/magento/app/Clear the Magento cache:
rm -rf var/cache/*Log in to the Magento admin panel and navigate to System → Configuration → Sales → Payment Methods to verify the NoPayn Payment Gateway section appears.
The module creates a nopayn_transactions table in your database to track payment transactions. This is created automatically on first use.
2. Configure the Plugin
- Go to Stores → Configuration → Sales → Payment Methods → Cost+ Payments
- Enter your API key (see step 3 below)
- Enable the payment methods you have been approved for
- Save changes
- Go to System → Configuration → Sales → Payment Methods
- Locate the NoPayn Payment Gateway section
- Enter your API key (see step 3 below)
- Enable individual payment methods (Credit / Debit Card, Apple Pay, Google Pay, Vipps MobilePay)
- Optionally restrict by country
- Save configuration
3. Enter API Credentials
Log into the Merchant Portal and navigate to Websites, then click on the website you want to connect. Click on Integration where you will find your API key.
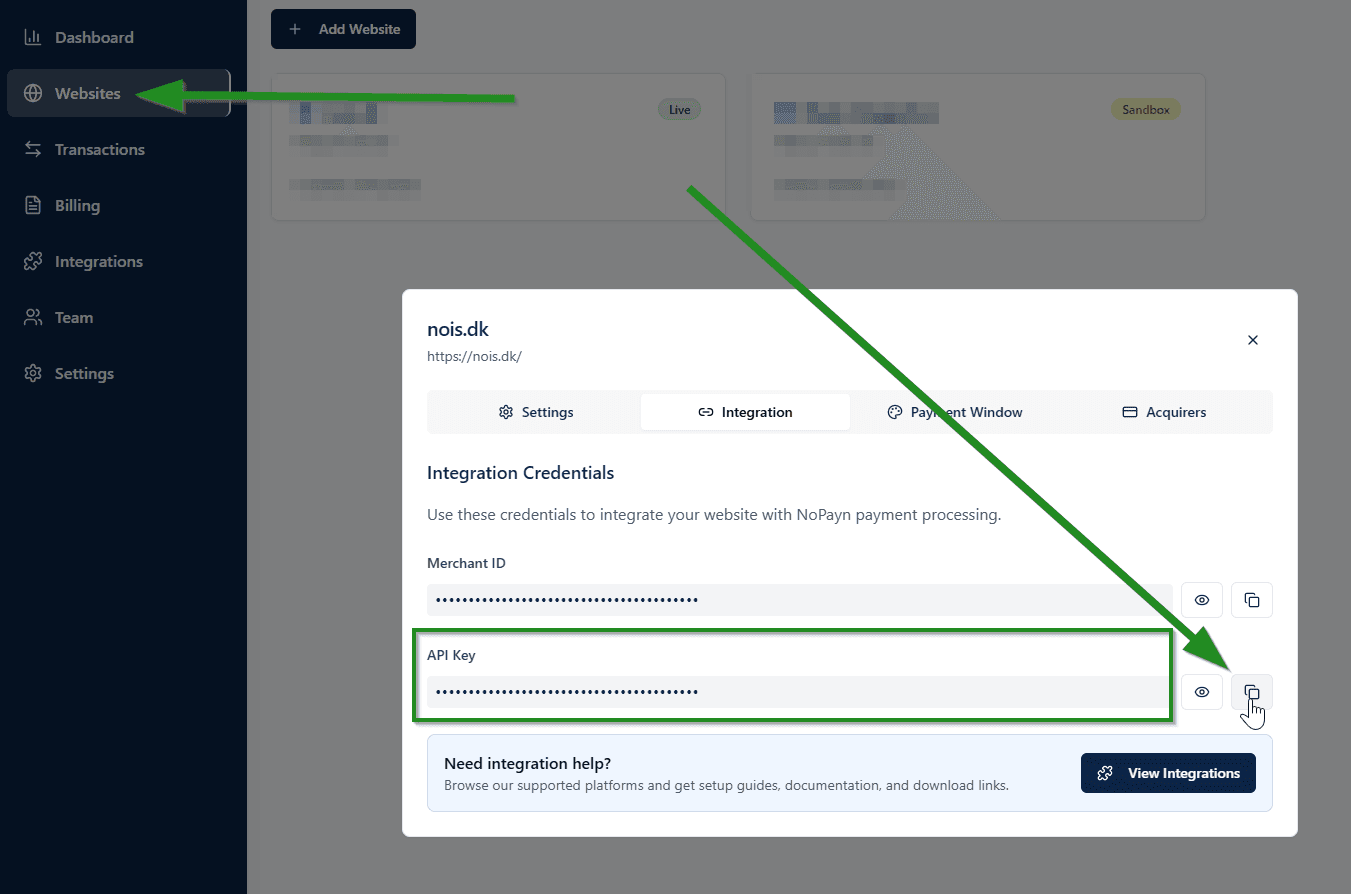
Paste the API key into the configuration field and save.
Only activate the payment methods you have been approved for and received confirmation for.
Supported Payment Methods
| Checkout Name | NoPayn Identifier |
|---|---|
| Credit / Debit Card | credit-card |
| Apple Pay | apple-pay |
| Google Pay | google-pay |
| Vipps MobilePay | vipps-mobilepay |
Payment Flow
- Customer selects a payment method at checkout and places the order
- Customer is redirected to the NoPayn Hosted Payment Page
- After payment, the customer returns and the order status is updated automatically
- NoPayn sends a webhook for asynchronous status confirmation
- Customer selects a payment method at checkout and places the order
- Order is created with status Pending Payment
- Customer is redirected to the NoPayn secure payment page
- After payment:
- Success — customer returns, status verified via API, order set to Processing
- Cancelled — customer returns, order set to Canceled
- Expired (5-minute timeout) — webhook fires, order set to Canceled
- NoPayn sends a webhook for asynchronous status confirmation
Order Status Mapping
| NoPayn Status | Magento Order State | Magento Order Status |
|---|---|---|
new | pending_payment | Pending Payment |
processing | pending_payment | Pending Payment |
completed | processing | Processing |
cancelled | canceled | Canceled |
expired | canceled | Canceled |
error | canceled | Canceled |
Webhooks
The module registers a webhook endpoint at /nopayn/payment/webhook. This URL is automatically sent to NoPayn when creating orders. The webhook always verifies the order status via the NoPayn API before updating the Magento order.
No manual webhook configuration is required — the module handles registration automatically.
4. Test Your Setup
- Place a few test transactions — both successful and failed
- Verify all enabled payment methods appear at checkout
- Configure capture behavior (auto-capture vs. manual) based on your fulfillment process
Support
Need help? Reach out to our support team at support@costplus.io.